DIY Christmas Ornaments That Look Store-Bought
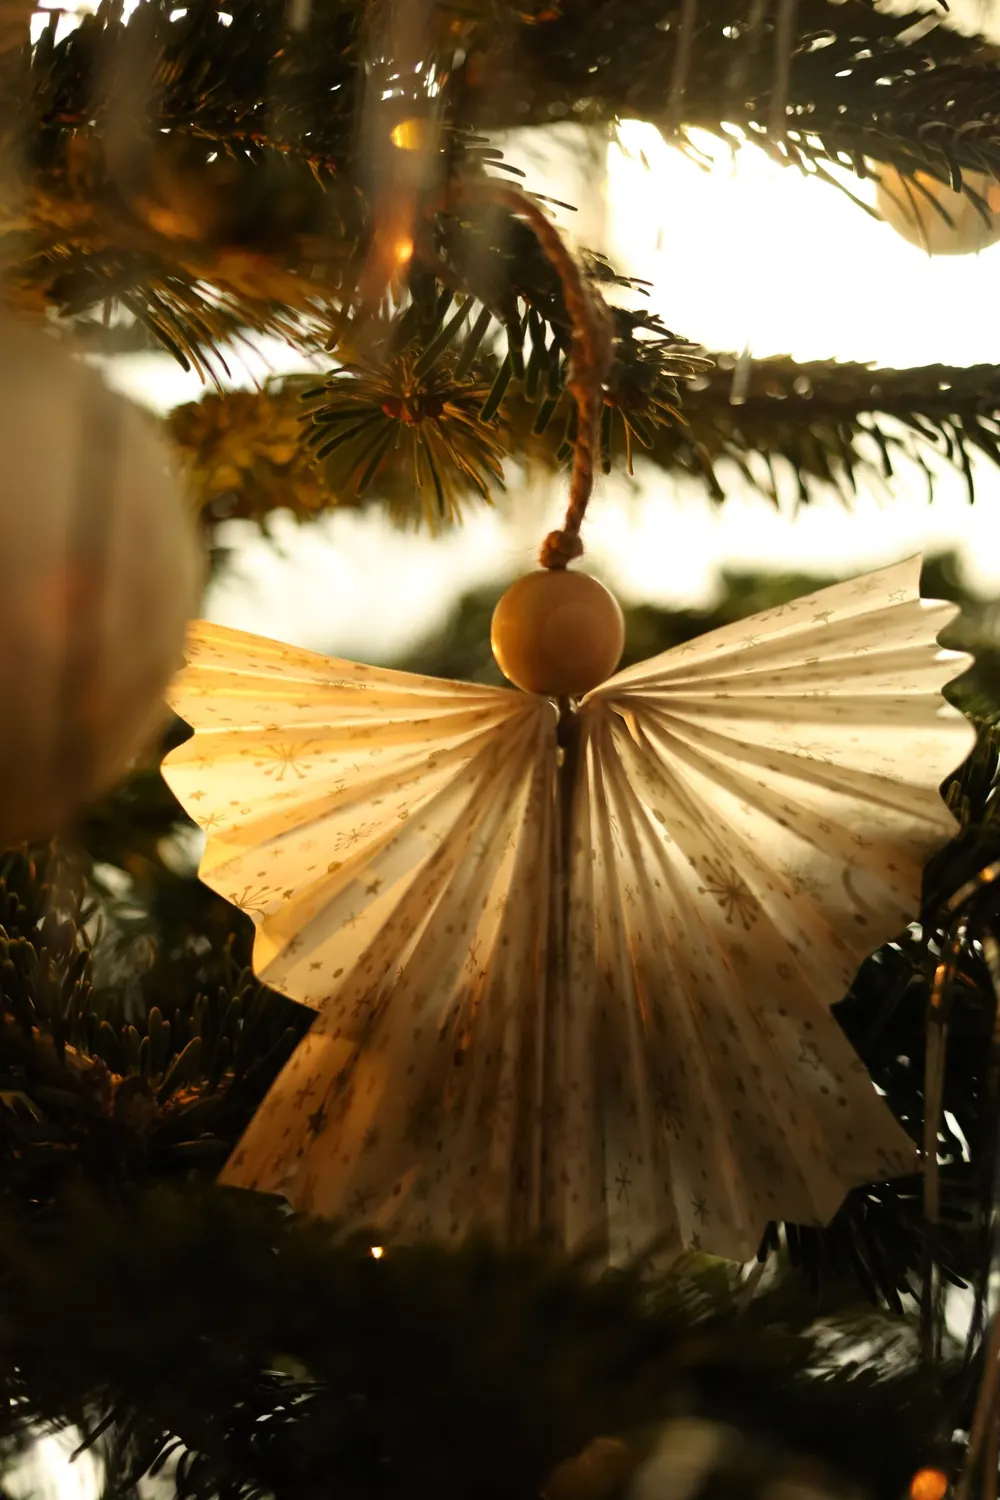
DIY Christmas ornaments that look store-bought, with step-by-step instructions for salt dough, clay, dried orange, wooden bead, ribbon and filled glass ornaments.
Handmade ornaments are some of the most treasured things on any tree. They hold memories, they make lovely gifts, and the best ones look so polished that nobody guesses you made them. These DIY Christmas ornaments are simple enough for beginners but look high-end. Most use basic craft supplies you may already have.
Before you start
Gather a few basic supplies:
- Ribbon, twine or thin wire for hanging
- Scissors and a craft knife
- Hot glue gun
- Acrylic paint and brushes
- A baking tray and parchment paper
- Clear glass or plastic fillable baubles
Set up a clean, flat work space and protect your table with paper.
1. Salt dough ornaments
Salt dough is cheap, easy and great for kids.
You need: 1 cup plain flour, ½ cup salt, ½ cup water.
- Mix the flour and salt, then add water gradually until you have a smooth dough.
- Roll it out to about 5 mm thick.
- Cut shapes with cookie cutters. Stars, hearts and trees work well.
- Make a hole for the ribbon with a straw.
- Bake at 120°C (250°F) for two to three hours, until completely dry.
- Cool, then paint or leave natural. Seal with clear varnish.
For a high-end look, press lace or leaves into the dough before baking, and leave it plain white.
2. Air-dry clay ornaments
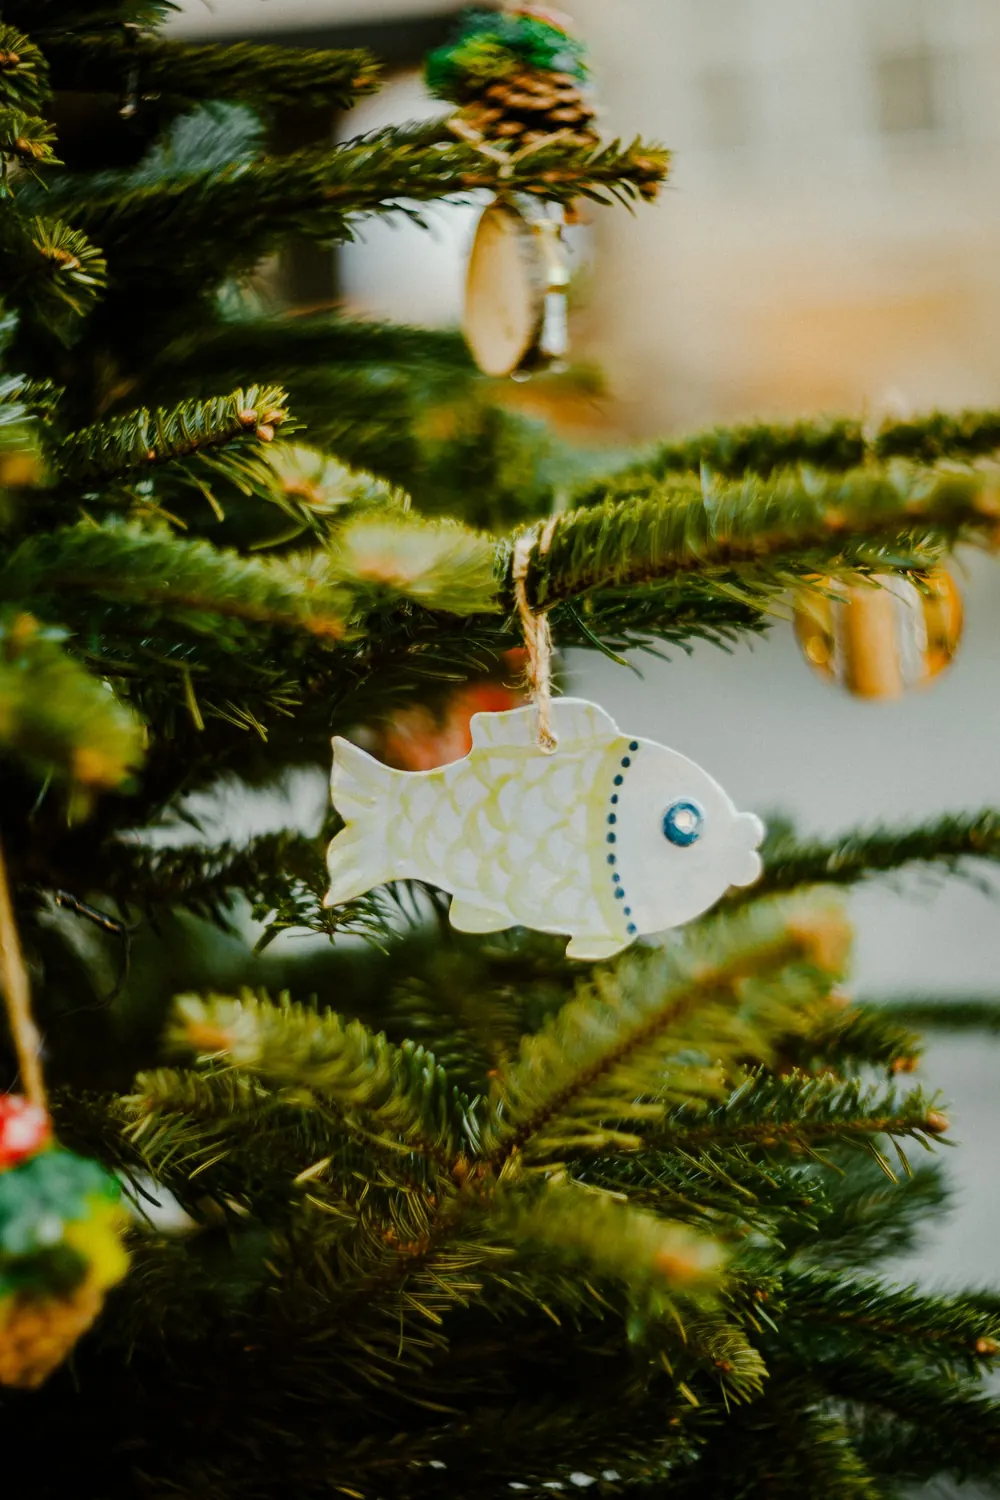
Air-dry clay gives a smoother, more refined finish than salt dough.
- Roll the clay between two sheets of parchment to about 4 mm.
- Cut shapes and stamp with rubber stamps or press in a sprig of greenery.
- Make a hole for hanging.
- Let dry for 24 to 48 hours, turning halfway.
- Sand any rough edges with fine sandpaper.
- Add gold paint to the edges, or leave white with a linen ribbon.
3. Dried orange slice ornaments
These look beautiful, smell wonderful and cost very little.
- Slice oranges about 5 mm thick.
- Pat dry with a towel.
- Bake at the lowest oven setting, around 90 to 100°C, for three to four hours, turning every hour.
- Let them cool and dry fully overnight.
- Thread twine through the top and tie a loop.
Add a cinnamon stick and a star anise with hot glue for an extra-special version.

4. Wooden bead garlands and ornaments
Wooden beads are simple and very Scandinavian.
- Thread beads onto wire in a circle and twist to close. Add a small bow.
- Or make a mini garland of beads with a tassel at each end.
Paint some beads white, gold or red for colour.
5. Filled clear baubles
Clear baubles are a blank canvas.
Ideas for filling them:
- Faux snow and a tiny bottle brush tree
- Dried flowers or lavender
- Gold glitter swirled with a little floor polish so it sticks
- Shredded paper and a small photo
- Tiny pinecones
Add a ribbon bow to the top.
6. Velvet ribbon bows
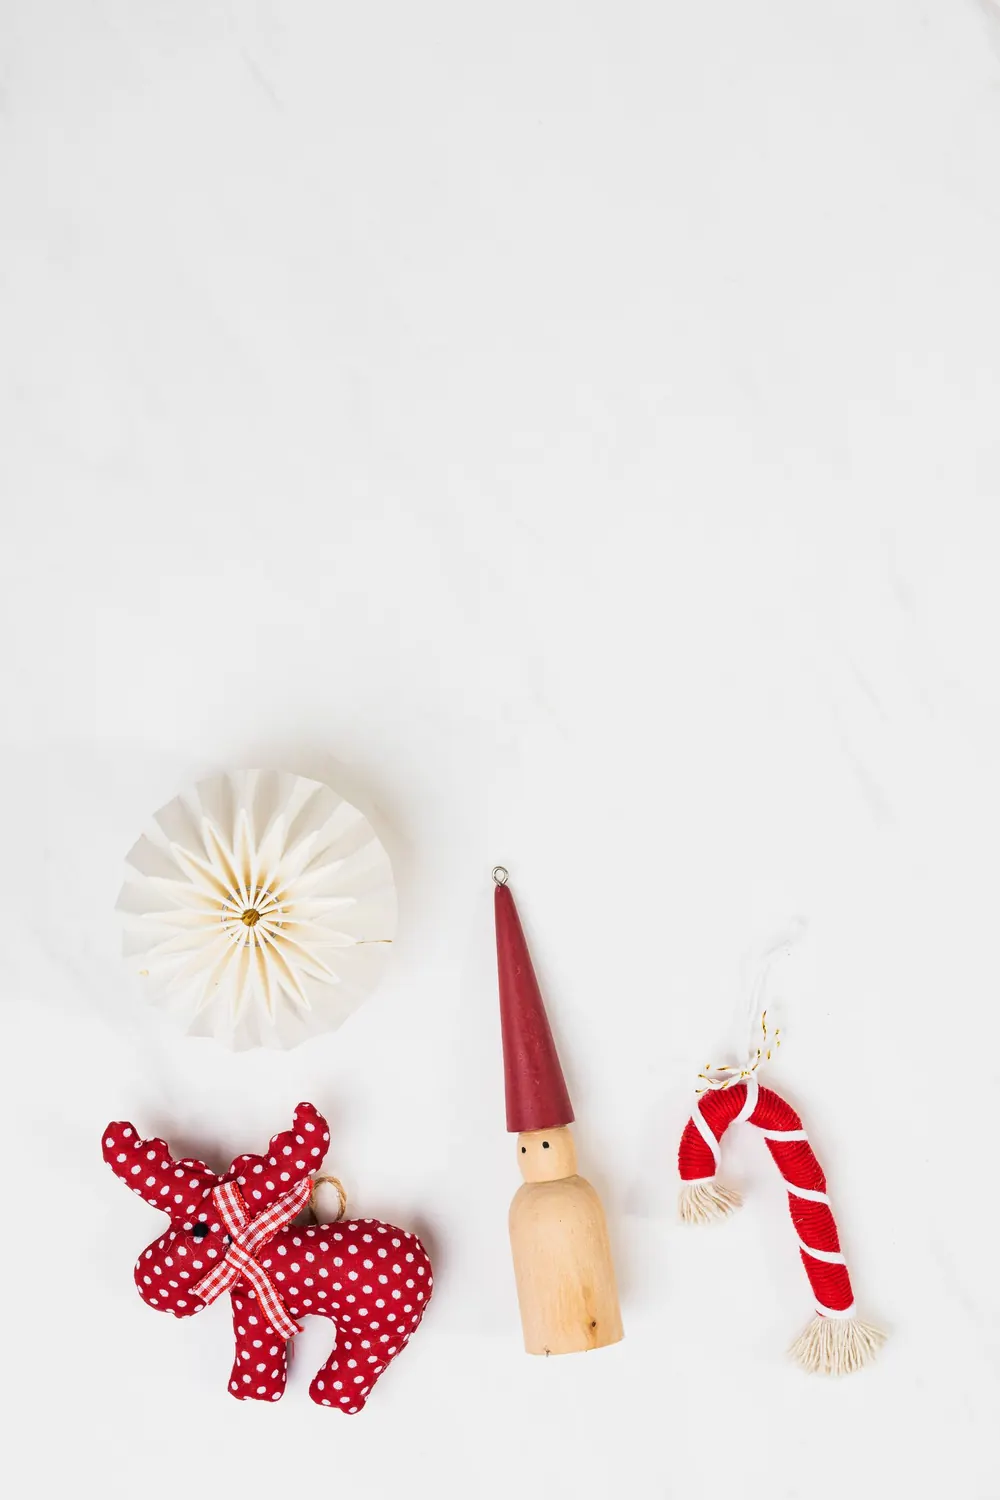
Mini velvet bows are on trend and easy to make in bulk. Tie a 30 cm length of 2 cm velvet ribbon into a bow, trim the ends and attach with wire. They look beautiful on their own or mixed with ornaments. See our guide to the Christmas tree with bows look for more ideas.
7. Cinnamon stick stars
Glue five cinnamon sticks into a star shape, tie twine at the joints and add a loop. They smell wonderful and look rustic.
8. Pinecone ornaments
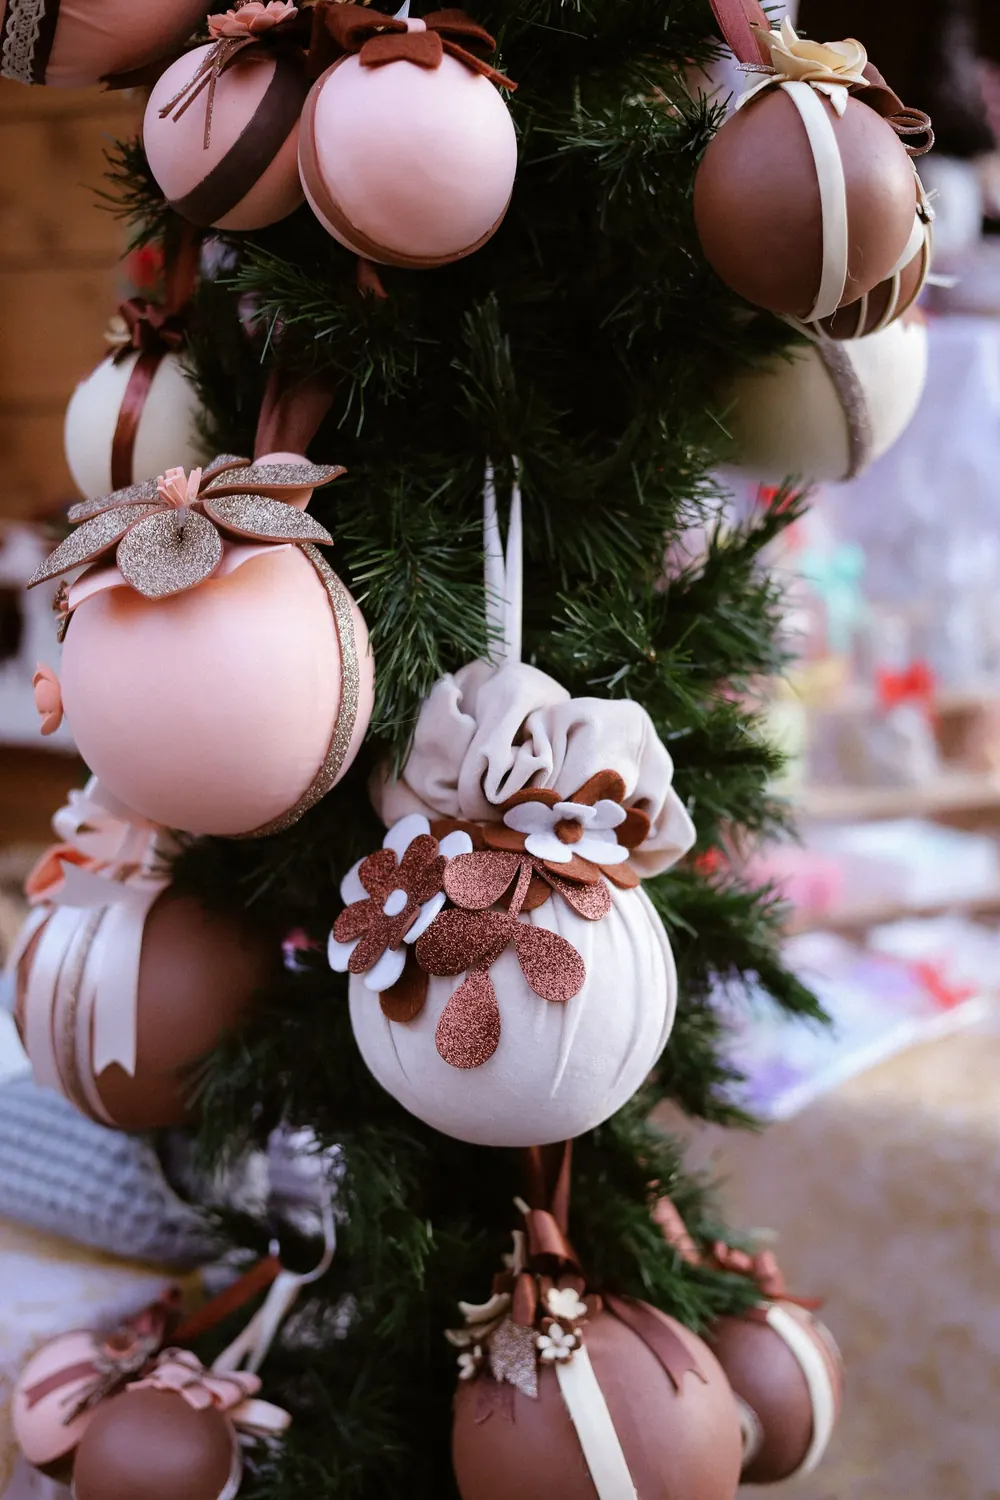
Small pinecones look sweet with a loop of ribbon. Brush the tips with white paint or glue to make them look snowy, or dip them in gold.
9. Felt ornaments
Cut simple shapes from felt, stitch two together, stuff with a little filling and embroider details. Perfect for children's trees.
10. Photo ornaments
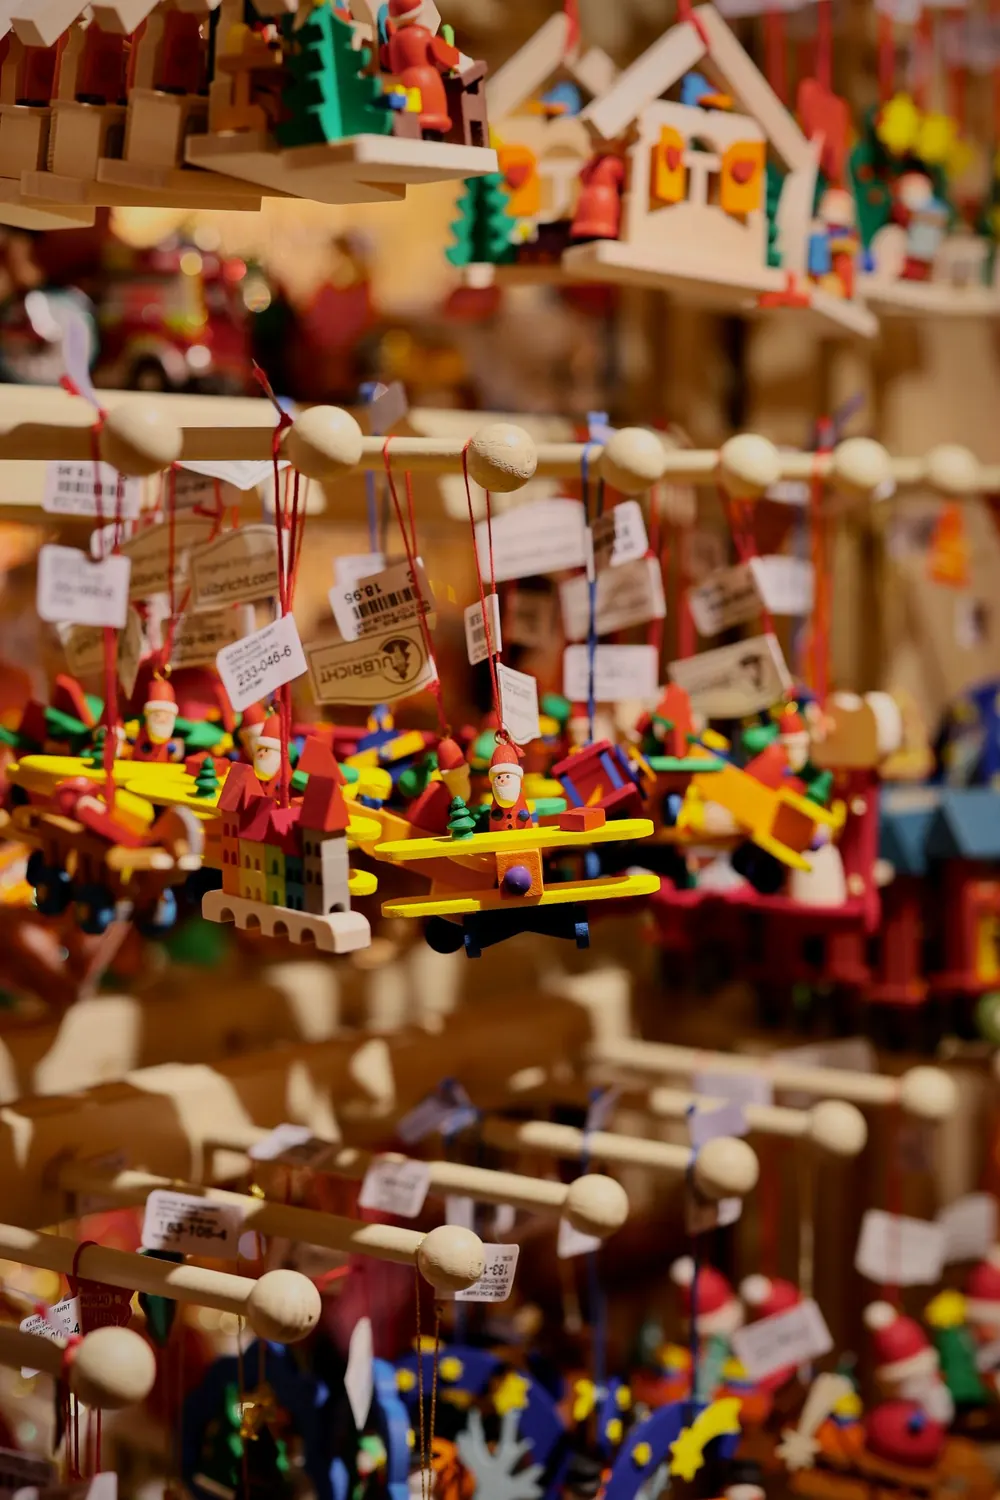
Glue a family photo inside a small wooden frame, add ribbon and write the year on the back. These become family treasures.
Tips for a store-bought look
- Stick to a colour palette so your handmade ornaments look like a set.
- Use quality ribbon. Velvet or silk looks more expensive than shiny polyester.
- Finish edges. Sand clay, trim threads and hide glue.
- Make multiples. Ten matching ornaments look intentional; one looks homemade.
- Add a little gold. Gold edges or gold string adds polish.
DIY ornaments as gifts
Handmade ornaments make thoughtful gifts for teachers, neighbours and grandparents. Package them in a small box with tissue paper and a handwritten tag. Add the year to make them a keepsake.
Crafting with kids
Salt dough, felt and pinecone ornaments are perfect for children. Set out paint, glitter and stickers and let them create freely. Write their name and the year on the back so you remember who made which.
Tools and supplies to have on hand
Before you start any ornament project, gather a basic kit. Having everything in one box makes crafting easier and less messy.
- A hot glue gun and glue sticks
- Sharp scissors and craft scissors
- Twine, ribbon and fishing line for hanging
- Eye pins or ornament hooks
- Acrylic paint and small brushes
- Mod Podge or craft glue
- A cutting mat and craft knife for adults
- Clear fillable baubles in plastic or glass
- Baking paper and a baking tray for clay or salt dough
More ideas for crafting with children
DIY ornaments are a lovely family tradition. Choose projects by age:
- Toddlers: sticking stickers or pom-poms on paper shapes, handprint salt dough.
- Ages 5–8: pine cone ornaments, painted wooden slices, paper stars.
- Ages 9+: felt ornaments with simple stitching, cinnamon dough, beaded stars.
Write the year and the child's name on the back of each ornament. In a few years you will have a treasured collection that tells the story of your family.
Safety tips
Supervise hot glue and ovens, use low-temperature glue guns for younger children, and keep small beads away from toddlers.
Making ornaments look high-end
The difference between a homemade-looking ornament and a boutique one is often in the details:
- Stick to a palette. Two or three colours look intentional.
- Use quality ribbon such as velvet or linen instead of thin satin.
- Finish the backs neatly, especially on felt or clay.
- Add a little shimmer with gold leaf or a light dusting of glitter rather than a heavy coat.
- Display in groups. A cluster of matching ornaments has more impact than a single piece.
Gift-giving ideas
Handmade ornaments make heartfelt gifts. Wrap a single ornament in tissue in a small kraft box, add a tag with the year, and give to teachers, neighbours and grandparents. A set of three makes a lovely hostess gift.
One last tip
Set up a dedicated craft table for the season so projects can stay out between sessions. Cover it with kraft paper, keep the glue gun on a heat-safe mat and store supplies in a few labelled jars. Crafting little and often is far more relaxing than trying to finish everything in one afternoon.
Get the Home Journal Co letter
One thoughtful email a week with our newest guides and seasonal ideas. No spam, unsubscribe anytime.
FAQ
What is the easiest DIY Christmas ornament?
Dried orange slices or tied ribbon bows. Both need very few supplies.
How do you make salt dough ornaments last?
Dry them completely and seal them with a clear varnish or Mod Podge to keep moisture out.
Can I make ornaments ahead of time?
Yes. Most of these keep for years if stored in a dry box with tissue paper.
DIY ornaments bring personality to your tree and make a cozy afternoon project. Start with one idea, make a set, and add more each year.
Save this guide for later — this image is sized for pinning.
Some posts may contain affiliate links; see our disclosure. Photography: Millidistelmarie; Helena Jankovičová Kováčová; cottonbro studio; https://kaboompics.com/; Nati; Nuray via Pexels.